Pin It
Simple velvet pumpkins for non crafters!
Gather up a pumpkin or two, scissors, velvet, elastic bands and a sewing machine. No sewing machine? ....old school thread and needle!
Measure the velvet from the bottom of the pumpkin to a few inches up the stem...follow the arrow in the picture..... this will be how wide to cut it
Then cut this width long enough to wrap around the pumpkin at least 1 1/2 to 2 times ...the longer the length the more gathers
You will end up with a rectangle piece of velvet, which will be become a little sac when the ends are gathered.
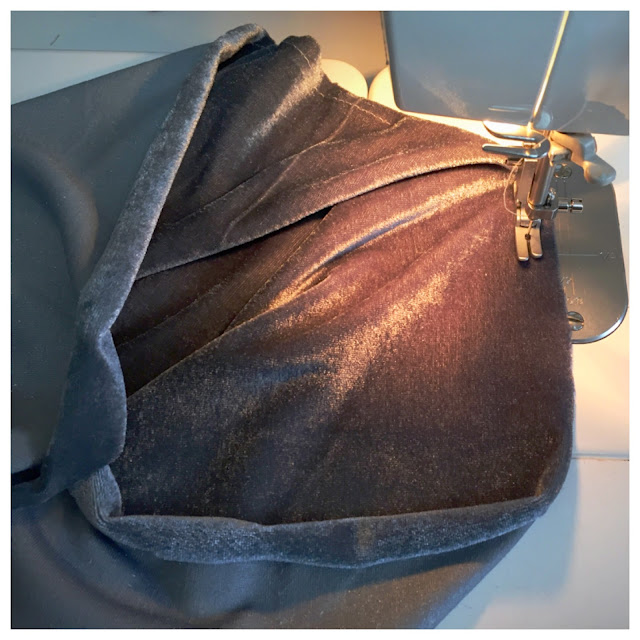
Next stitch the short ends together by hand or machine then gather around the circle on one end.
Pull your gathering up tight, I stitched over top of the gathering to keep it in place. If you are an
overachiever, cut a little circle of velvet and sew the gather to the circle for a clean finish. (only sewers will understand what that means )...back to none sewers (and an easier life!).... if you used good strong thread, (double or quadruple it if its not strong) then just tie it off, the gathers will stay in place and it will be on the bottom of the pumpkin which nobody will see.
Pop your pumpkin in the little sac, gather up the velvet around the stem like your putting your hair in a ponytail and put the elastic around it to hold it together, yank it like you do your hair to pull the velvet gathers up around the pumpkin.
If you like, trim the ends if they are too long. Velvet doesn't fray so no need to finish the edges!
Thats it!
There are other ways of making the very popular velvet pumpkins... just using the stem from the
pumpkin and attaching it to a velvet fabric pumpkin stuffed with fiber fill ....which was where I was headed when I started this but this seemed easier and I like the ruffles.... although ruffles have nothing to do with pumpkins but then neither does velvet.....
Anyway quick and easy ...have fun!


